Beginner’s Guide to Canning: Start Preserving with Confidence
Whether you want to reduce food waste, embrace seasonal eating, or reconnect with ancestral skills, home canning is the perfect place to start. This beginner-friendly guide will walk you through everything—from essential gear to your first few recipes.
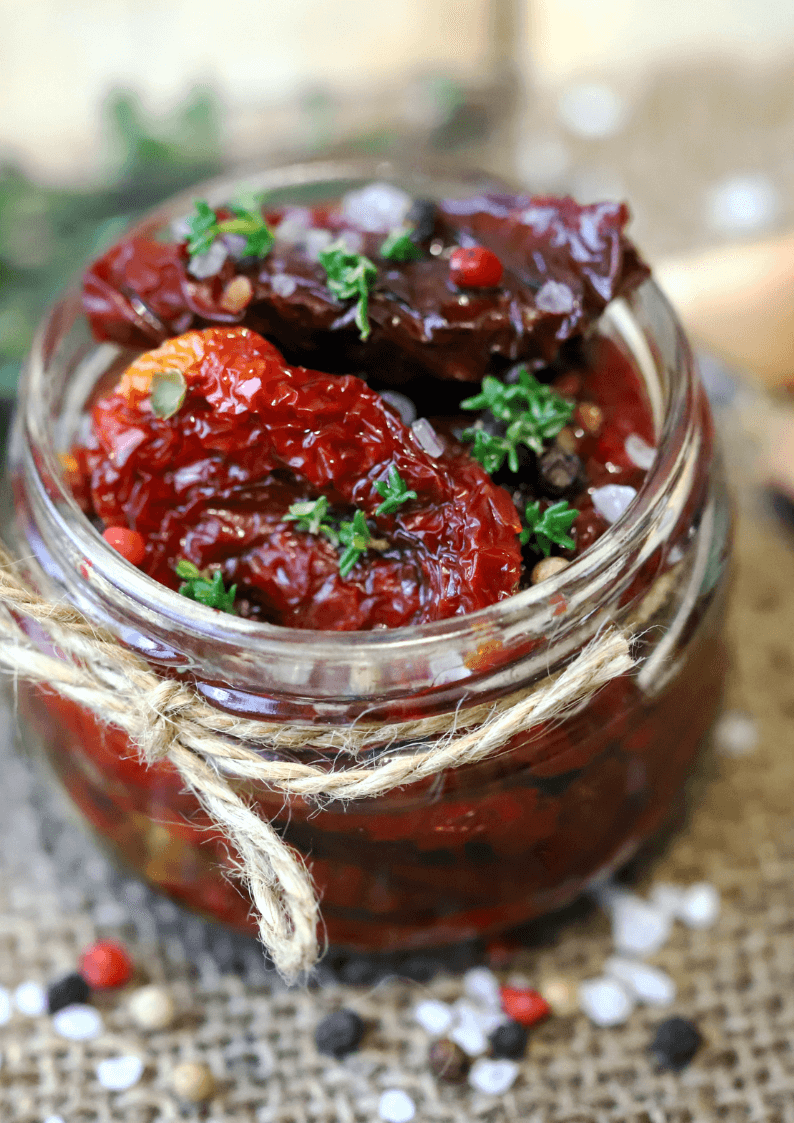
What Is Canning?
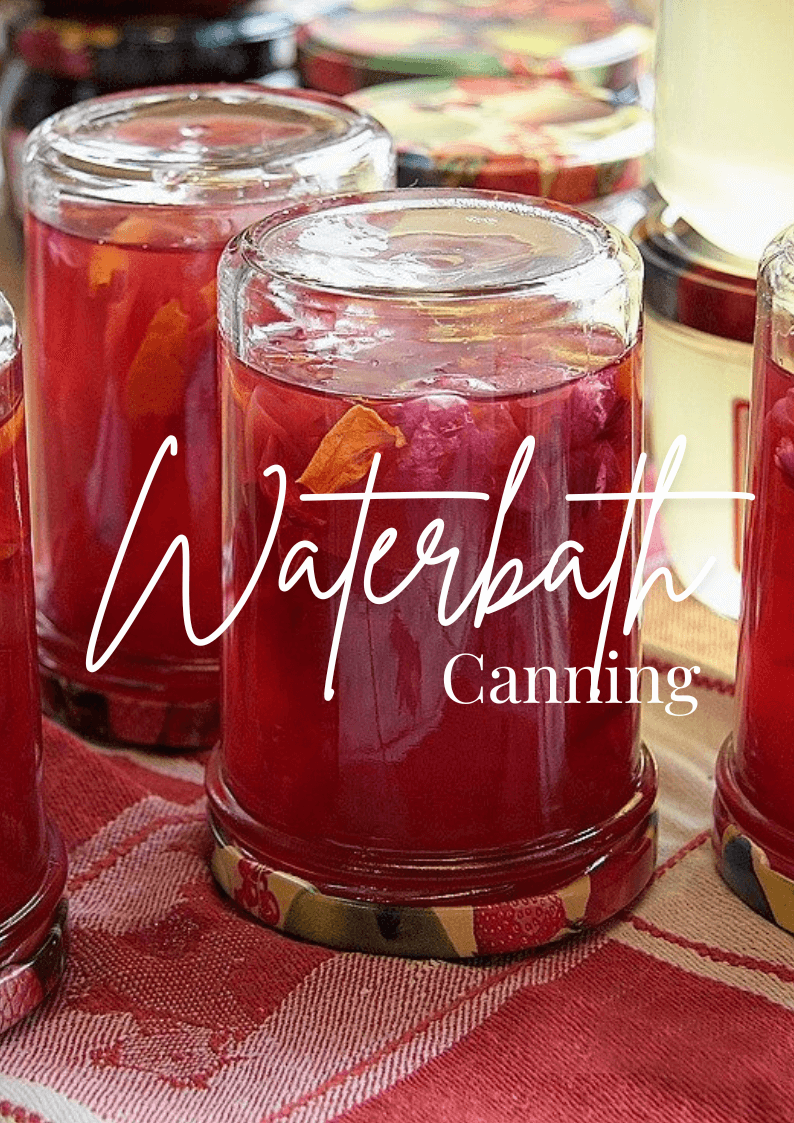
Canning is a method of food preservation that seals food in jars using heat. When done properly, canned goods can last 1–2 years without refrigeration—making them perfect for homemade jams, sauces, vegetables, and more.
🔧 What You Need to Start (Beginner Gear List)
You don’t need fancy tools to begin. Here’s a basic beginner setup (with affiliate links to make shopping easier):
| Item | Why You Need It | Affiliate Link |
|---|---|---|
| 🫙 Mason Jars (8 oz & 16 oz) | Store your food safely with reusable glass | Buy Mason Jars |
| 🔥 Water Bath Canner or Large Stockpot | Heat-process jars to make them shelf-stable | Buy Water Bath Canner |
| 🧲 Jar Lifter | Safely remove hot jars from water | Get a Jar Lifter |
| 📏 Headspace Funnel | Ensures even fill and prevents spills | Buy Funnel |
| 📖 The Essential Canning Cookbook | Trusted recipes for safe canning | Get the Cookbook |
Pro Tip: You can also get an all-in-one canning kit to simplify your first setup.
Step-by-Step: How to Start Canning
Step 1: Choose Your Recipe
Start with high-acid foods (like fruit or pickles), which are safer for beginners. We’ll guide you through 3 great starter recipes below.
Step 2: Wash & Sterilize Equipment
Boil your jars, lids, and tools for 10 minutes or run through the dishwasher on hot. Keep jars hot until filled.
Step 3: Prepare the Food
Follow your recipe closely—don’t alter acid, sugar, or vinegar amounts. Exact proportions are critical for food safety.
Step 4: Fill the Jars
- Use a funnel to load the hot jars
- Leave proper headspace (usually ¼" to ½")
- Remove air bubbles with a clean chopstick or knife
Step 5: Seal and Process
- Wipe jar rims clean
- Add lid and ring, tightening finger-tight
- Place in boiling water bath with at least 1 inch of water covering the jars
- Process for 10–45 minutes depending on recipe and altitude
Step 6: Cool and Check Seals
Remove jars and place on a towel. After 12–24 hours, press center of each lid:
- Sealed = doesn’t flex
- Not sealed = refrigerate and use immediately
3 Easy Beginner Recipes
Strawberry Jam
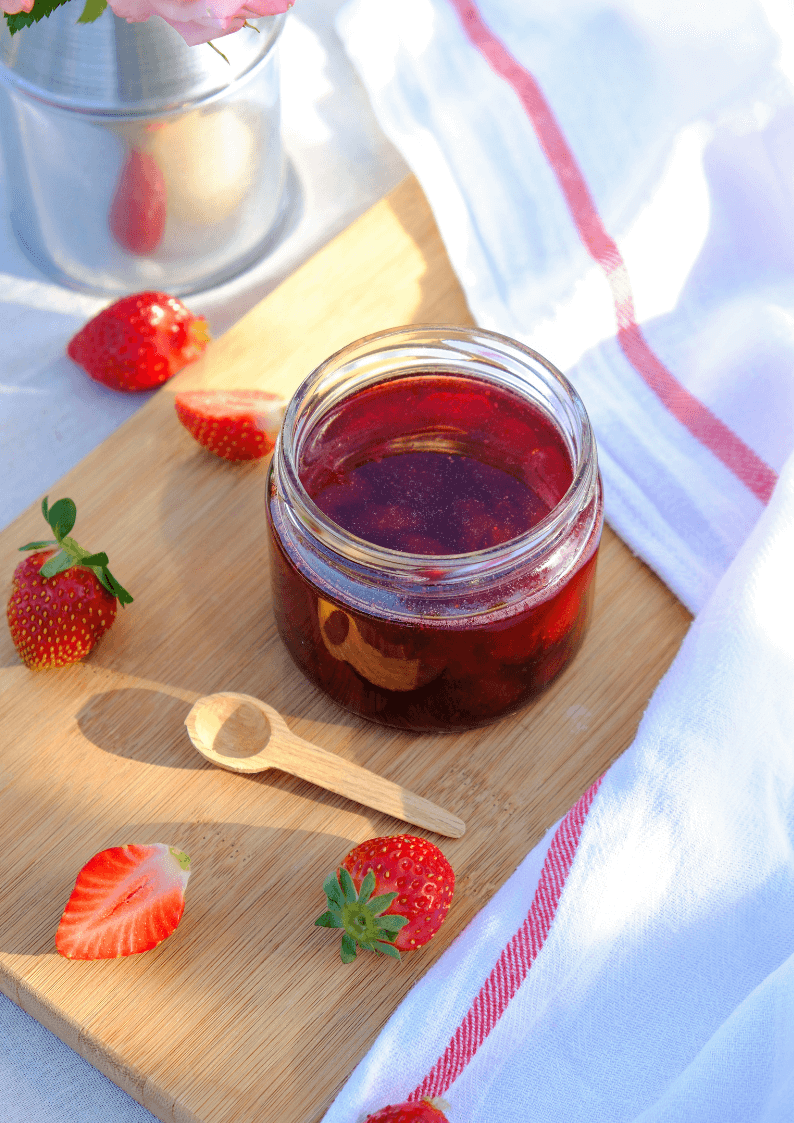
Ingredients:
- 4 cups fresh strawberries (hulled & mashed)
- 4 cups sugar
- 2 tbsp lemon juice
Instructions:
- Combine ingredients in a pot over medium-high heat
- Bring to a boil, stirring often until thick (~30 minutes)
- Ladle into hot jars, leaving ¼" headspace
- Process in boiling water for 10 minutes
Pickled Asparagus
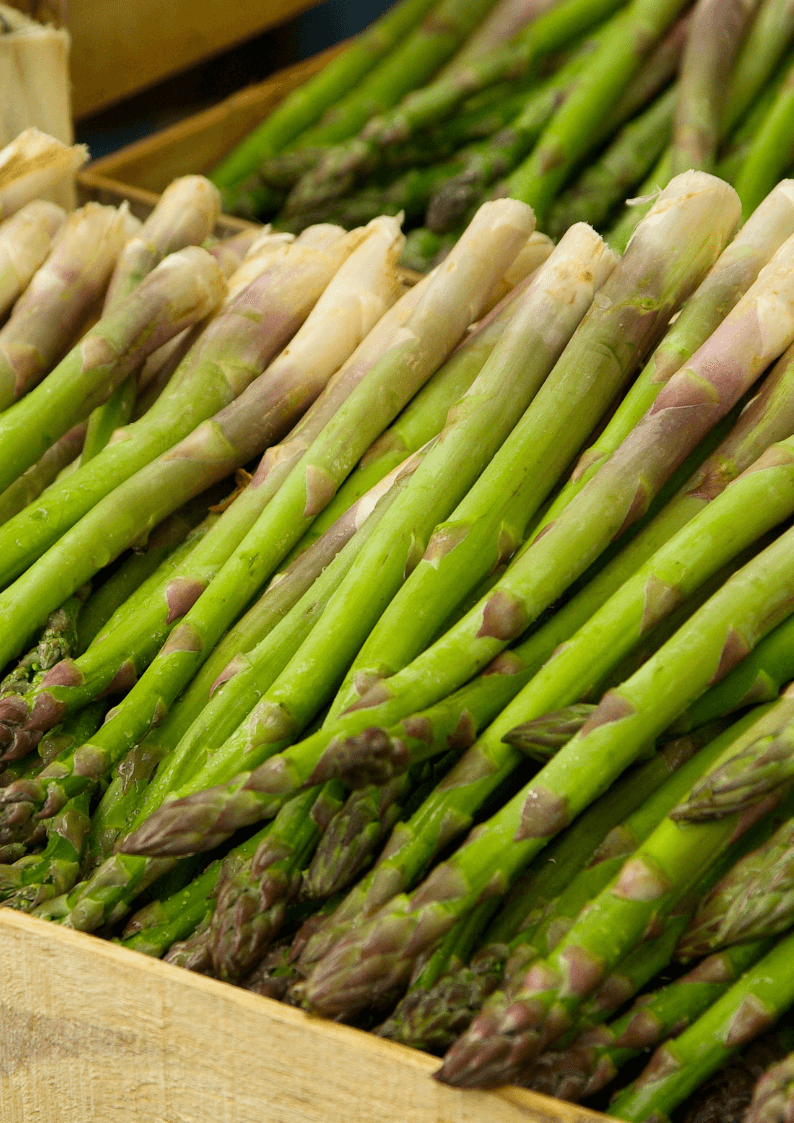
Ingredients:
- 2 lbs asparagus, trimmed
- 2½ cups white vinegar
- 2½ cups water
- 2 tbsp salt
- 1 tbsp sugar
- 4 garlic cloves
- 1 tsp mustard seeds per jar
Instructions:
- Blanch asparagus for 1 minute, then cool
- Boil vinegar, water, salt, and sugar
- Pack asparagus, garlic, and mustard seeds into jars
- Pour brine to ½" headspace
- Process in boiling water for 10 minutes
Stewed Tomatoes
Ingredients:
- 6 lbs ripe tomatoes, peeled and chopped
- 2 tsp salt
- 2 tbsp bottled lemon juice (per quart jar)
Instructions:
- Simmer tomatoes for 10 minutes
- Add lemon juice to each jar
- Fill with hot tomatoes, leaving ½" headspace
- Process in boiling water for 40 minutes (quarts) or 35 minutes (pints)
Safety Tips for New Canners
- Always follow tested recipes from USDA or trusted sources
- Do not adjust vinegar, sugar, or lemon juice
- Use new lids every time
- Label your jars with the date and contents
- Store in a cool, dark place
Ready to Get Started?
The Canning Quick starter Kit gives you everything you need to begin preserving food safely and confidently. Download your materials and start your first batch today!
Click through this guide (press arrows to scroll through)