
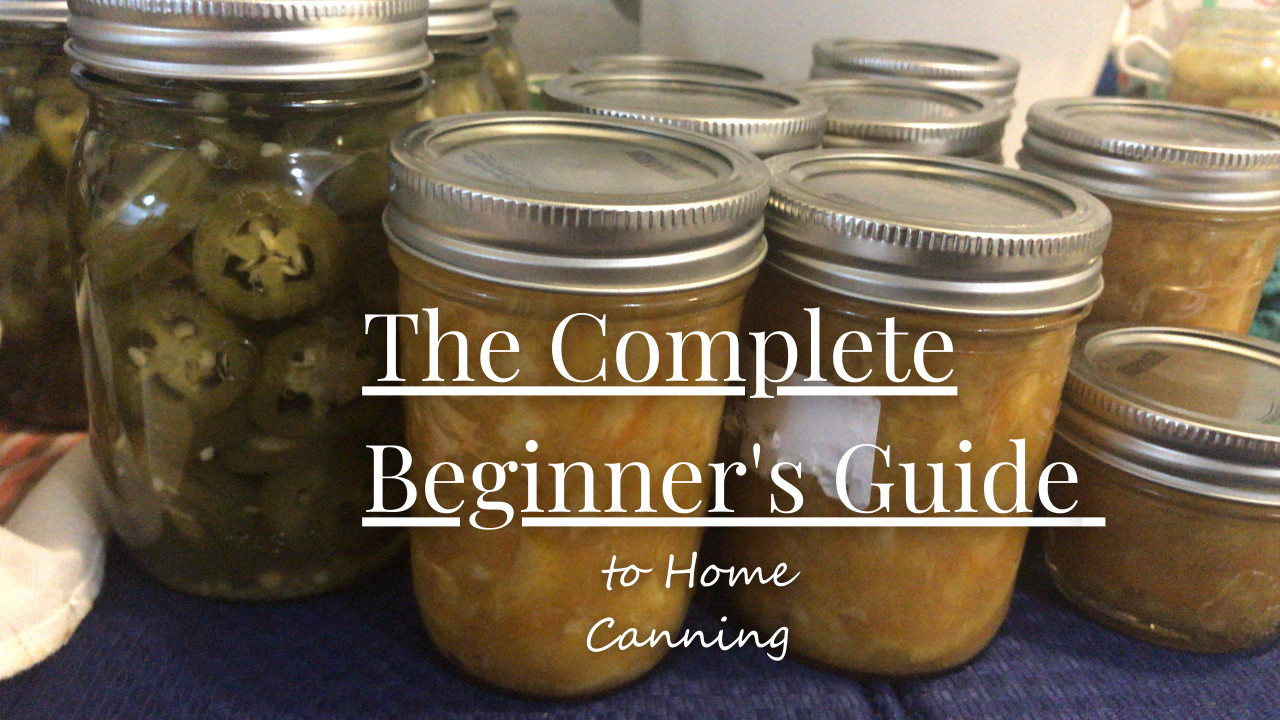
What’s up you beautiful peeps? If you’ve been eyeballing those farmer’s market peaches, CSA tomatoes, or backyard dill and thinking, “I wish I knew what to do with all these peaches,” welcome—this is your on-ramp to canning. The real-life, jars-on-the-counter, feed-your-family kind.
Canning Basics: a calm, clear start
Canning is just cooked food + a safe seal = shelf-stable meals and condiments you actually want to eat. There are two routes, and which one you choose depends on the acidity of your food:
1) Water bath canning (high-acid foods). Think jams, jellies, most fruits, pickles, and tomatoes with added acid. Jars are fully submerged in boiling water (212°F) for a set time—perfect when acidity is doing the safety heavy-lifting.
2) Pressure canning (low-acid foods). Vegetables, meats, broths, soups need higher heat. A pressure canner reaches 240–250°F to neutralize botulism spores in low-acid, oxygen-free environments. It sounds intense, but it’s straightforward when you follow the steps.
The non-negotiables
- Acidity matters. Botulism thrives only in low-acid, air-free places. High-acid foods are safe for the water bath; low-acid foods belong in the pressure canner. Use tested recipes and you’ll be golden.
- Follow tested recipes—no freestyling. Times and ingredient ratios are engineered for safety. Save improv for sauces at the table.
- Use new flat lids every time. The sealing compound is single-use; bands are reusable, lids are not. Remove bands for storage.
- Pickling vinegar must be 5% acidity. That’s how you keep brines safely acidic. You’ll see “5%” across proper pickle recipes.
Your minimalist starter kit
You do not need an entire new kitchen.
- Large stockpot + rack (for water bath), or a pressure canner for low-acid foods. Get gauges tested annually if you use a dial-gauge model.
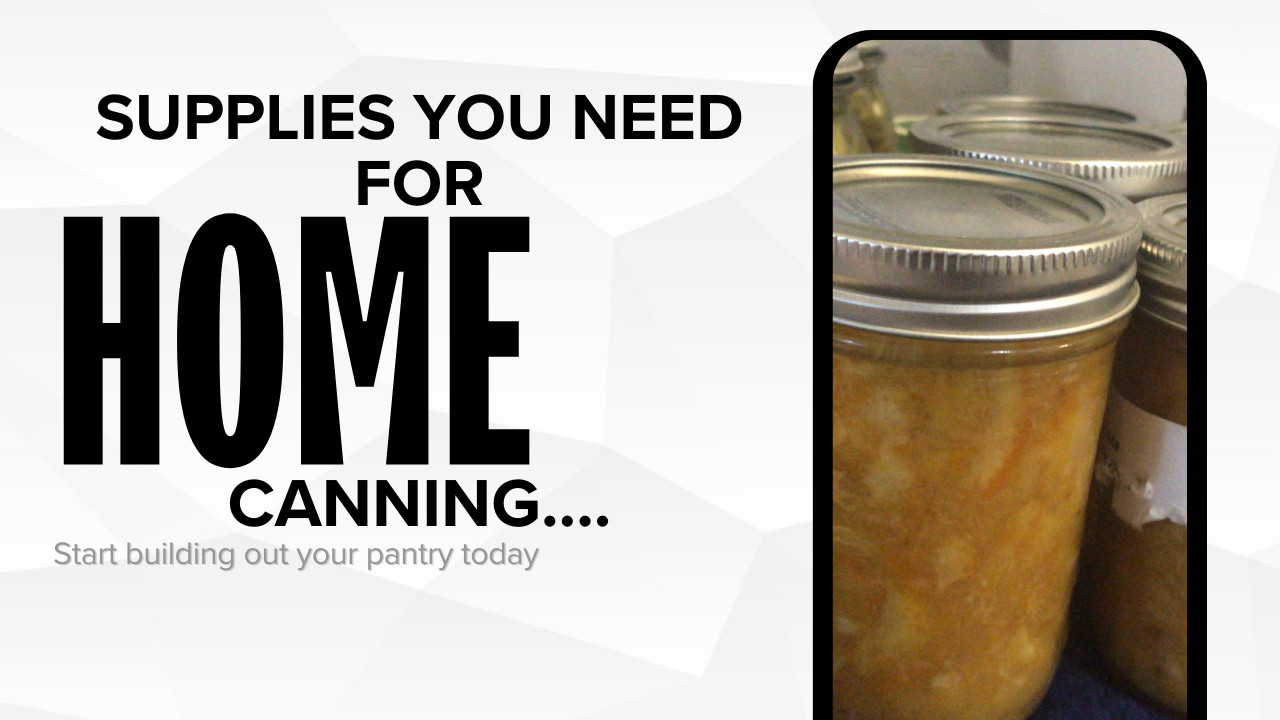
- Jars: half-pint for jams; pint for fruits/veg/salsa; quart for tomatoes/soups. Choose canning-grade jars with two-piece lids.
- Jar lifter, funnel, bubble remover (a chopstick works), clean towels.
Easiest first wins (pick one this weekend)
- Strawberry jam (water bath). Forgiving, fast, and confidence-building. You’ll practice filling, bubble removal, and that sweet “ping” when jars seal.
- Any crisp pickle (water bath). Start with asparagus or a garden medley—note the 5% vinegar in the brine. Crunchy joy in 10–15 minutes of processing.
A clean, organized game plan (water bath version)
- Gather + inspect. Clean jars, new lids, good bands; check jars for chips and cracks.
- Wash + keep jars hot to avoid thermal shock.
- Prep the pot with enough water to cover jars by 1–2 inches.
- Fill jars with correct headspace; remove bubbles; wipe rims; lids on fingertip-tight.
- Process at a rolling boil for the recipe time; let jars rest before lifting out.
- Cool 12–24 hours, test seals (no flex), label, store.
Pressure canning has its own rhythm—vent for 10 minutes (critical), hold steady pressure, and if pressure drops, restart the timer when you’re back at target.
Storage that protects your work
Cool, dark, dry, labeled—then rotate. Ideal temp is 50–70°F; don’t stack sealed jars, and peek monthly for any seal issues. FIFO: oldest jars up front, new ones in the back.
Shelf life (best quality, assuming good storage):
• Water bath foods: up to 18 months (best within 1 year)
• Pressure-canned veg & meats: 2–5 years (best within 2)
• Pickles: about 1 year (best texture within 6–12 months)
• Jams/jellies: 1–2 years
• Water bath foods: up to 18 months (best within 1 year)
• Pressure-canned veg & meats: 2–5 years (best within 2)
• Pickles: about 1 year (best texture within 6–12 months)
• Jams/jellies: 1–2 years
Before you open a jar, check for: bulging lids, leaks, mold; and after opening, fizzing, off-smells, or slimy textures. When in doubt, throw it out.
Tiny myth-busting to keep you safe
- A sealed lid doesn’t automatically mean safe food—acidity and correct processing time matter.
- Boiling longer won’t make low-acid foods safe in a water bath. Only pressure canners reach 240–250°F.
Quick FAQ
Do I need a pressure canner to start?
No. Begin with high-acid, water-bath recipes (jams, fruits, pickles). Move to pressure canning when you’re ready for veggies, broths, and meats.
No. Begin with high-acid, water-bath recipes (jams, fruits, pickles). Move to pressure canning when you’re ready for veggies, broths, and meats.
Can I reuse lids?
Nope. New lids every time; bands are reusable. Remove bands for storage.
Nope. New lids every time; bands are reusable. Remove bands for storage.
Can I can dairy, pasta, or thickened soups?
Skip it. These interfere with safe heat penetration. Can broths or thin soups; thicken after you open the jar.
Skip it. These interfere with safe heat penetration. Can broths or thin soups; thicken after you open the jar.
How do I know a jar sealed?
Lid is concave and doesn’t flex when pressed. If it flexes, refrigerate and use soon.
Lid is concave and doesn’t flex when pressed. If it flexes, refrigerate and use soon.
You don’t need to move to a cabin or churn butter to do this. You can be a Whole Foods-shopping, yoga-doing, homeschooling-ish human who also puts up summer in a jar. Start simple, stay safe, and let the practice slow you down in the sweetest way.
In gratitude,
Molly
Molly
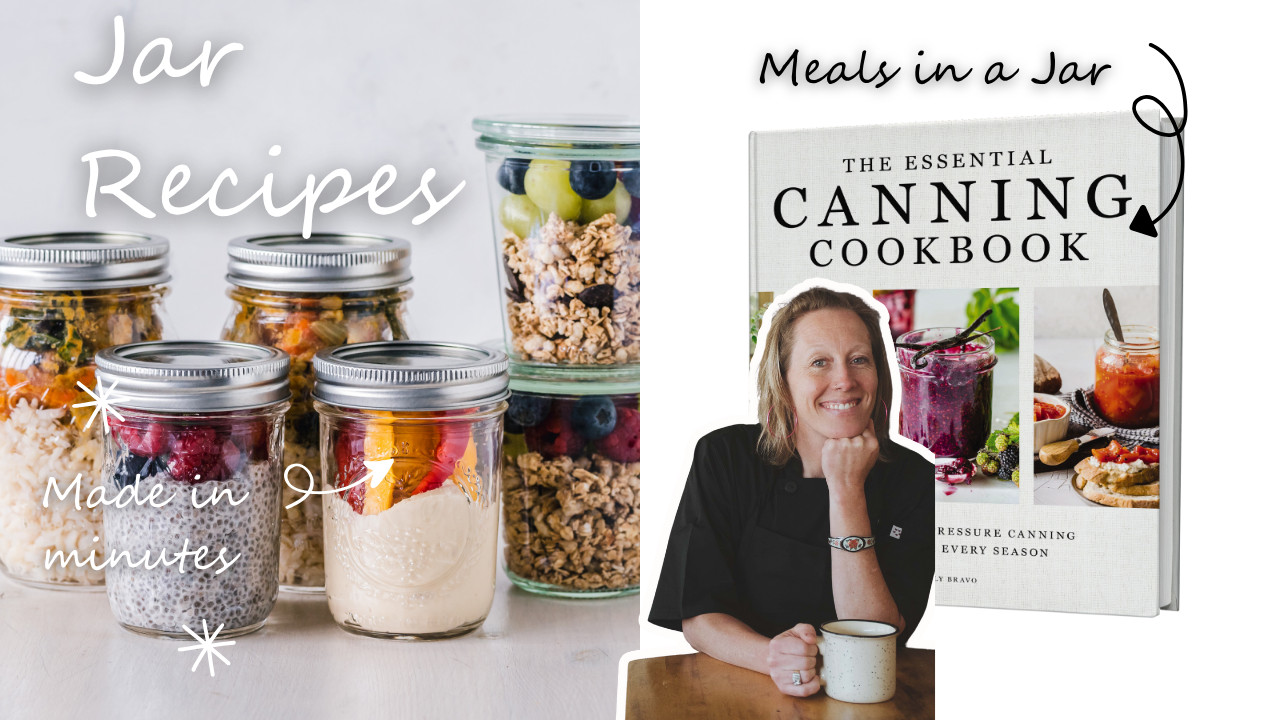
P.S. I’ve got a beginner-friendly “Canning Quickstart Kit ” you can print and stick to your fridge, plus a short list of my go-to, tested recipes to try first.


0 Comments