
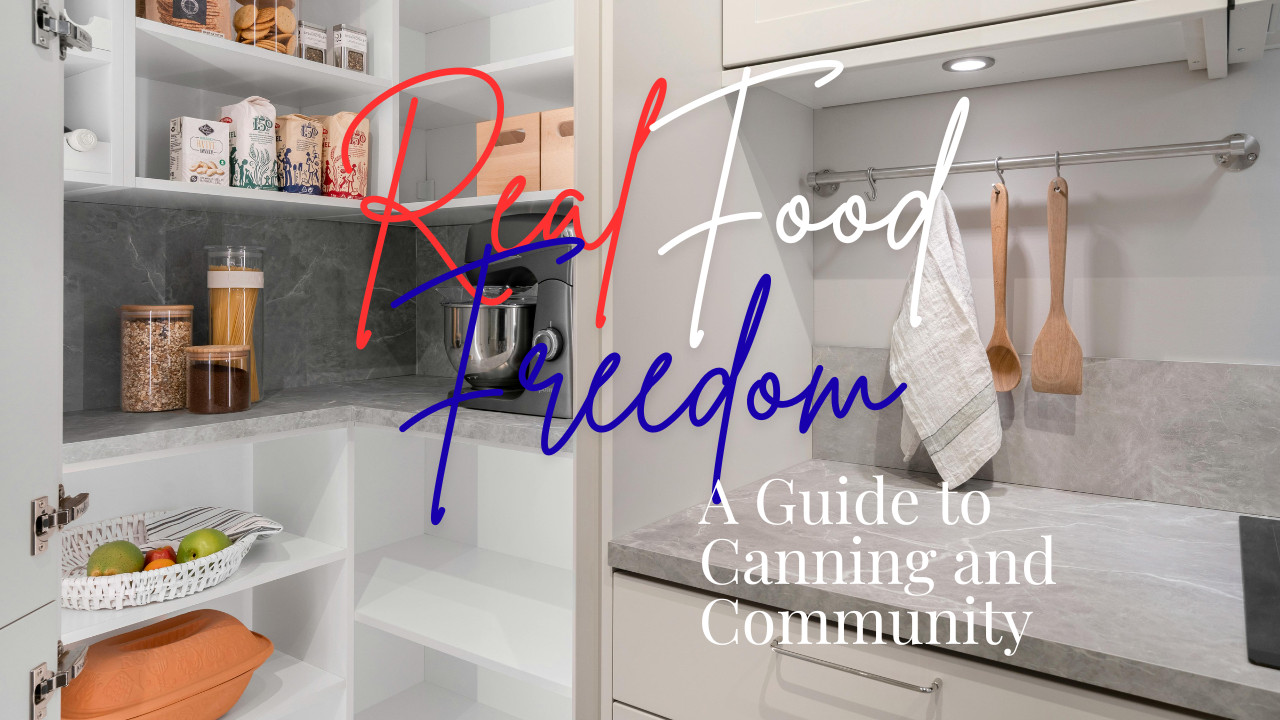
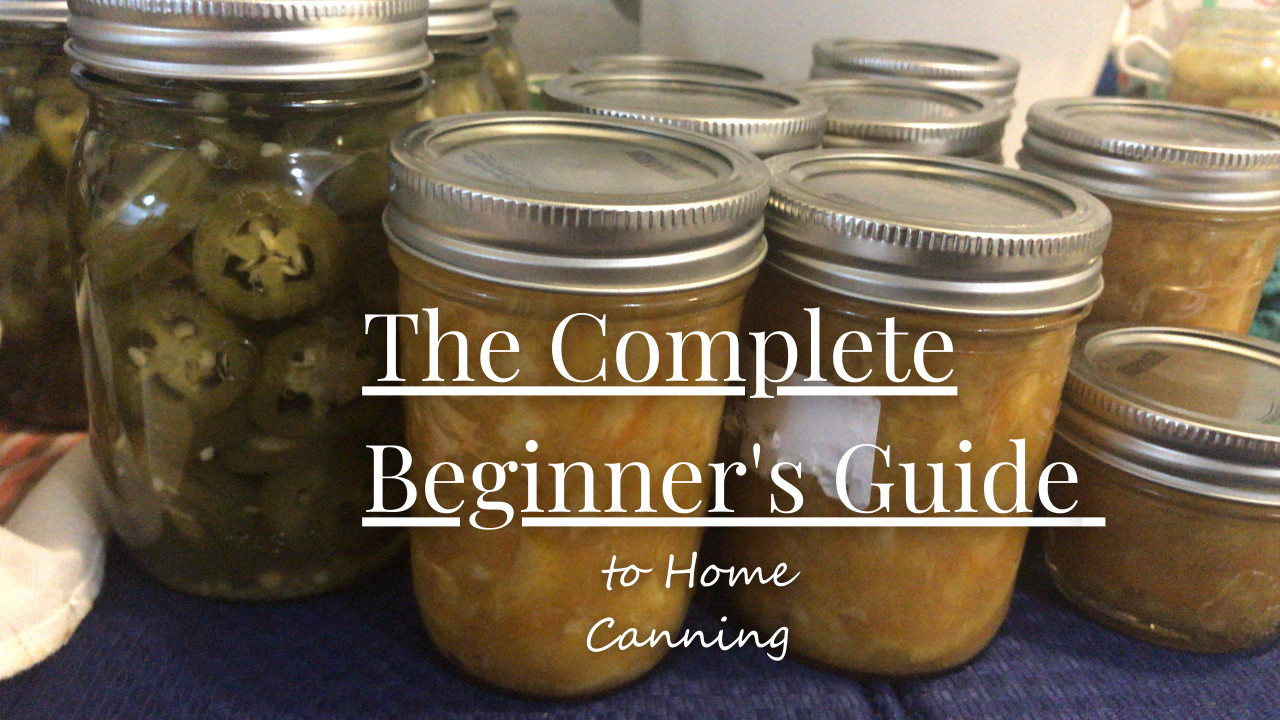
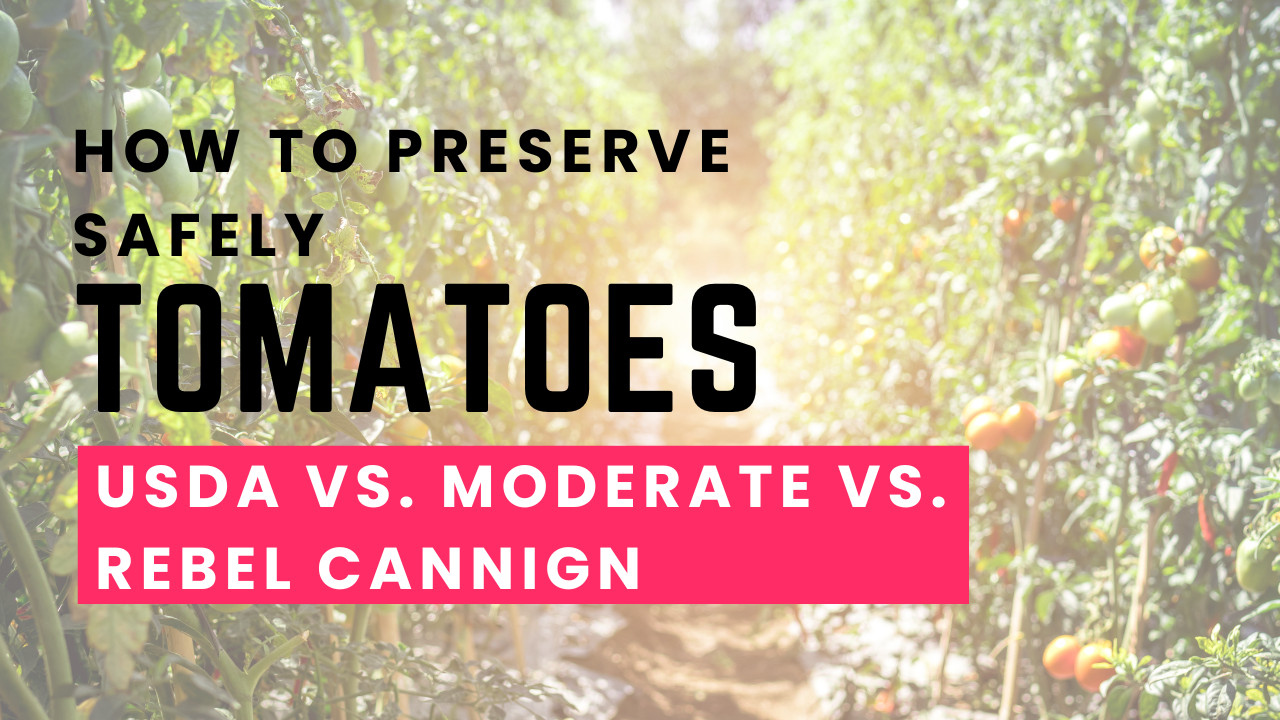
Introduction: Why Home Canning Is More Relevant Than Ever
We're in a heavily toxic world right now. Food is meant to sit on shelves for much longer than nature intended. I'm thrilled to tell you that the art of home canning is making a triumphant comeback. Whether you're looking to preserve seasonal produce, save money, or control what goes into your food, learning the basics of home canning will set you up for a world of food security and sovereignty by allowing you to design your own pantry - feeding your family nutrient dense meals.
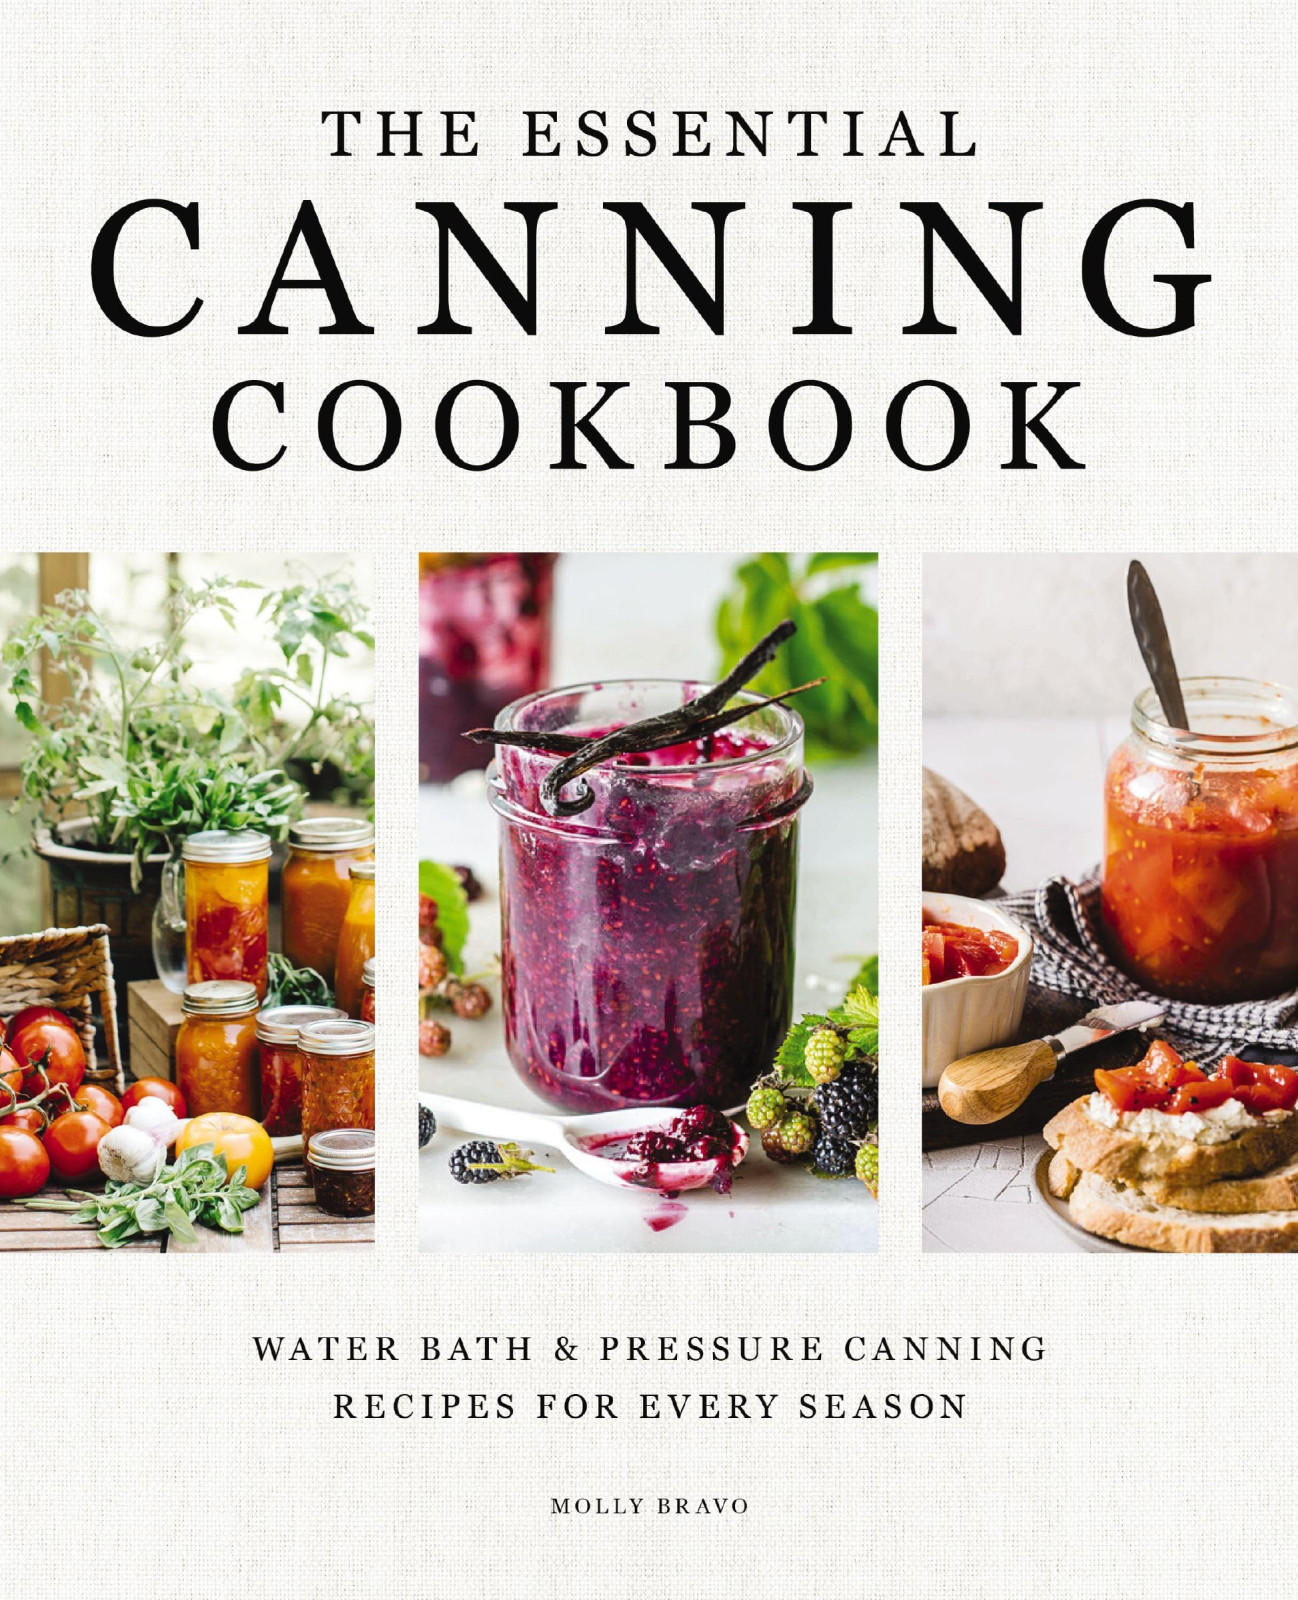
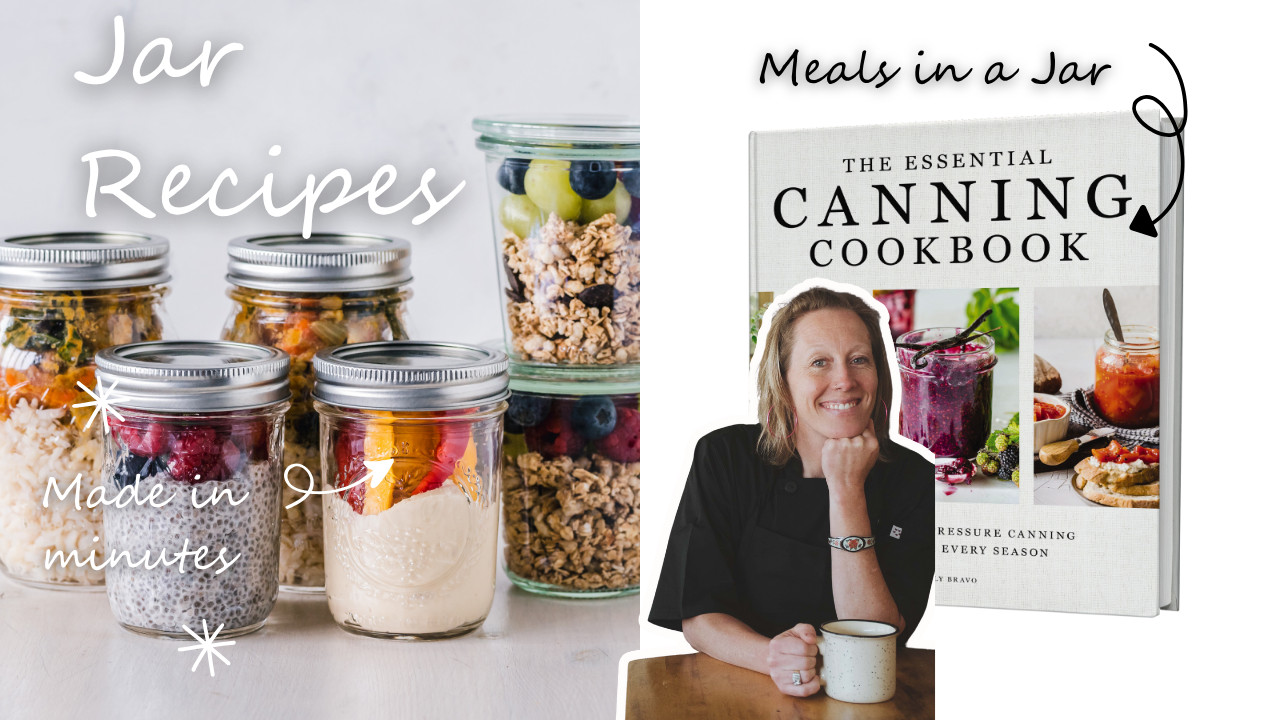
This post is your deep-dive into Home Canning 101, including essential tools, safety standards, and a recipe from our upcoming Essential Canning Cookbook (launching August 5 – preorder it now!).
1. Understanding the Basics of Home Canning
What is Home Canning?
Home canning is the process of preserving food in sealed jars through heat, which kills microorganisms and prevents spoilage. The goal is shelf-stable food that lasts for months (or even years) without refrigeration.
There are two main methods:
- Water Bath Canning: For acidic foods like fruits, jams, pickles, and tomatoes.
- Pressure Canning: For low-acid foods like meats, vegetables, and soups.
Why pH Matters in Canning
Acidity (pH) is a critical factor in choosing the right method. Foods with a pH of 4.6 or lower are safe for water bath canning, while low-acid foods require the higher temperature of a pressure canner to safely eliminate botulism risk.
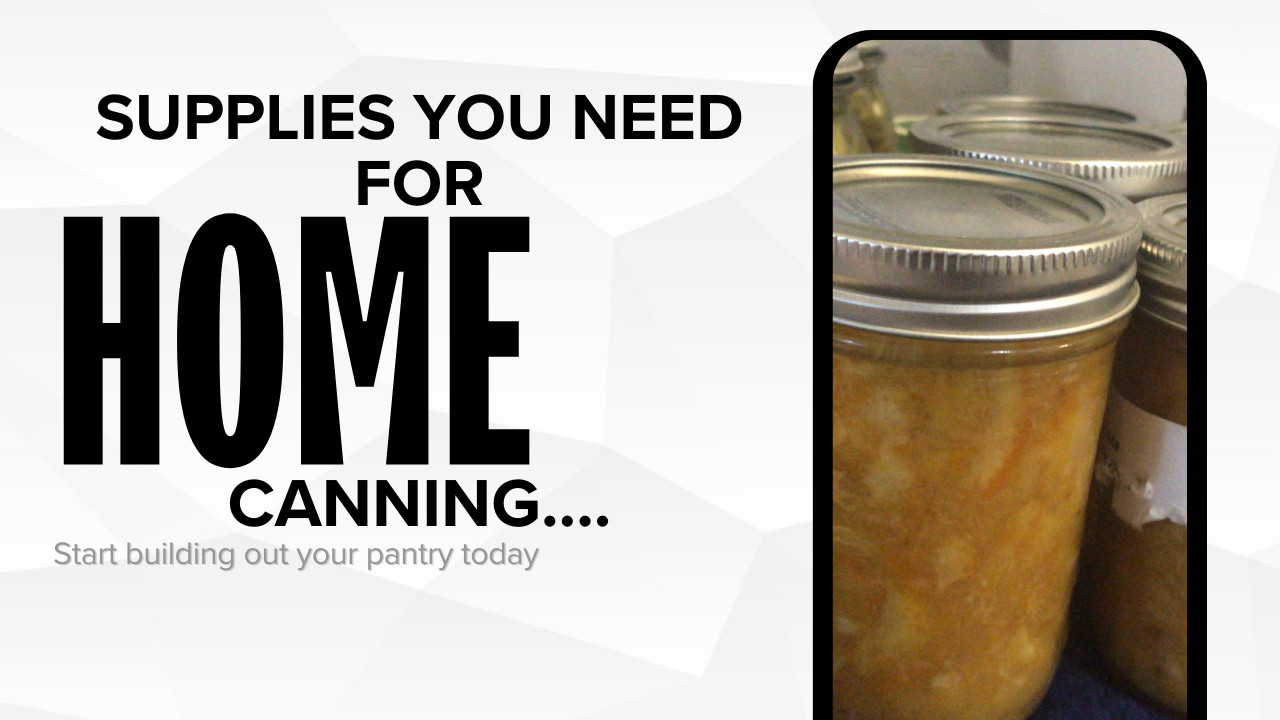
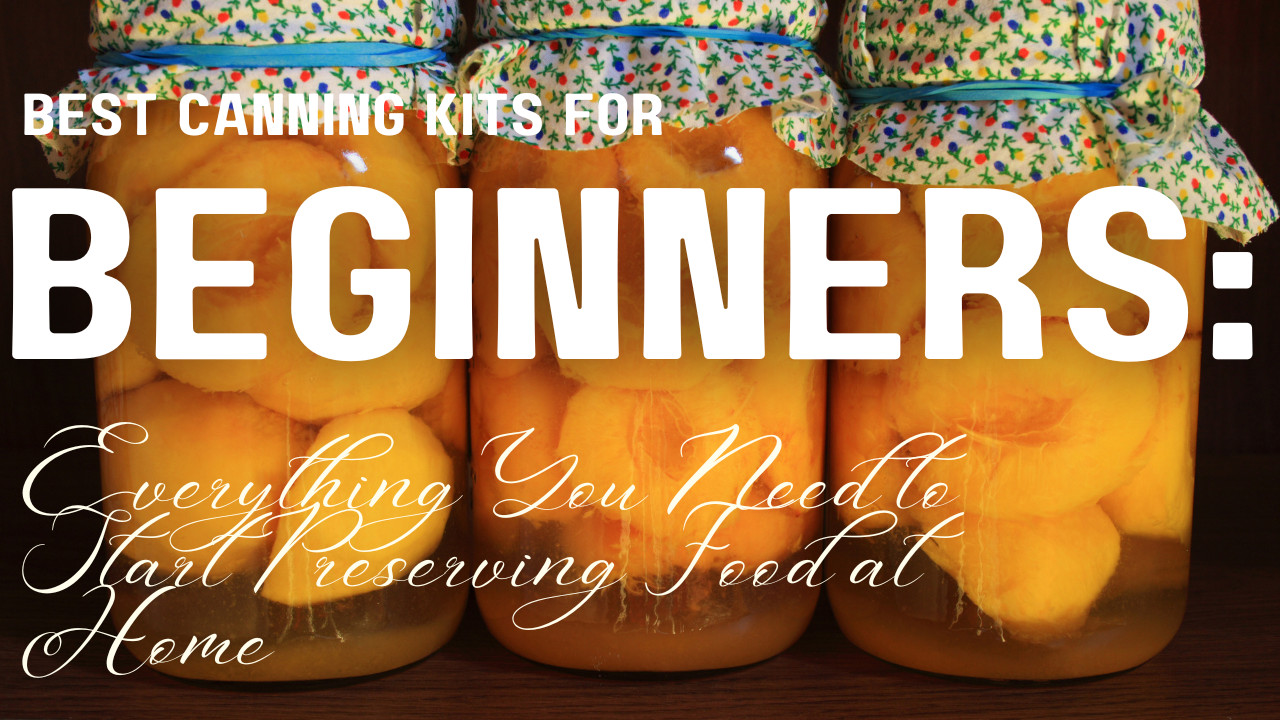
2. Must-Have Canning Equipment for Beginners
You don’t need to spend a fortune to get started, but having the right tools will make canning safer, faster, and more effective.
Recommended Starter Gear:
- ✅ Granite Ware Water Bath Canner – Perfect for jams, jellies, and pickles.
- ✅ Presto 01781 Pressure Canner – USDA-approved for low-acid foods.
Invest in quality gear early—it makes all the difference in outcomes and safety.
3. The Importance of Sterilization and Safety
Steps for Safe Canning:
- Inspect jars and lids for cracks or warping.
- Wash and sterilize jars (boiling water or dishwasher).
- Use new lids every time to ensure a vacuum seal.
- Wipe rims with vinegar before sealing to remove residue.
- Process jars for the full recommended time.
- Always test seals 24 hours after cooling.
Never shortcut safety. Improperly canned foods can cause serious illnesses like botulism.
4. Step-by-Step Water Bath Canning Process
Best for: Jams, fruits, pickles, salsas.
Step 1: Prepare your recipe and sterilize jars.
Step 2: Fill jars, leaving appropriate headspace (usually ¼ inch).
Step 3: Remove air bubbles, wipe rims, and apply lids.
Step 4: Submerge jars in boiling water.
Step 5: Process according to your recipe’s time and altitude.
Step 6: Cool for 12-24 hours, then check the seals.
Step 2: Fill jars, leaving appropriate headspace (usually ¼ inch).
Step 3: Remove air bubbles, wipe rims, and apply lids.
Step 4: Submerge jars in boiling water.
Step 5: Process according to your recipe’s time and altitude.
Step 6: Cool for 12-24 hours, then check the seals.
5. Step-by-Step Pressure Canning Process
Best for: Green beans, soups, meats.
Step 1: Prepare low-acid recipe.
Step 2: Add 2-3 inches of water to the pressure canner.
Step 3: Place jars on rack, lock lid, and vent steam for 10 minutes.
Step 4: Bring to pressure (10-15 psi, depending on altitude).
Step 5: Process for the required time.
Step 6: Cool naturally, remove jars, and check seals after 24 hours.
Step 2: Add 2-3 inches of water to the pressure canner.
Step 3: Place jars on rack, lock lid, and vent steam for 10 minutes.
Step 4: Bring to pressure (10-15 psi, depending on altitude).
Step 5: Process for the required time.
Step 6: Cool naturally, remove jars, and check seals after 24 hours.
6. Common Canning Mistakes to Avoid
- Using the wrong method (e.g., water bath for meats)
- Skipping headspace measurements
- Reusing canning lids
- Not adjusting for altitude (see USDA chart)
- Overfilling jars
Tips for Using This Chart
WATER BATH CANNING
The water in your water bath canning pot must remain at a rolling boil (212°F) throughout the processing time to ensure proper sterilization. Note that you must account for your location’s altitude, as it affects water’s boiling point and pressure levels.
Rule: Add 5 minutes to the processing time for every 1,000 feet above sea level.
FOOD TYPE | JAR SIZE | PROCESSING TIME (MINUTES) | ALTITUDE ADJUSTMENTS (+MINUTES) | TEMPERATURE |
Jams and jellies | Half-Pint/Pint | 10 | + 5 (1,000 to 6,000 ft), + 10 (>6,000 ft) | 212°F |
Whole tomatoes (Raw pack) | Quart | 85 | + 5 (1,000 to 6,000 ft), + 10 (>6,000 ft) | 212°F |
Pickles (Sliced) | Pint | 10 | + 5 (1,000 to 6,000 ft), + 10 (>6,000 ft) | 212°F |
Peaches (Halved) | Quart | 25 | + 5 (1,000 to 6,000 ft), + 10 (>6,000 ft) | 212°F |
Applesauce | Pint/Quart | 20 | + 5 (1,000 to 6,000 ft), + 10 (>6,000 ft) | 212°F |
7. Recipe from the Essential Canning Cookbook: Classic
Dill Pickles
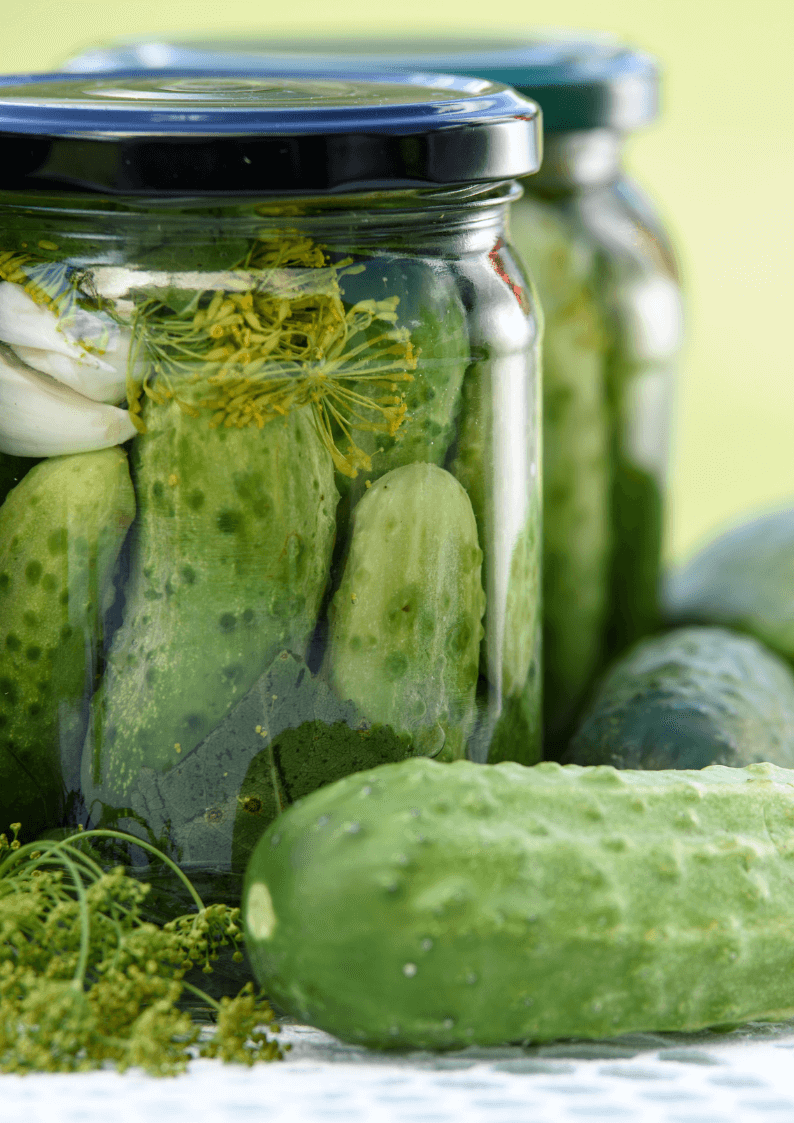
Classic Dill Pickles (Water Bath Canning)
Yield: 4 pints
Processing Time: 10 minutes
Processing Time: 10 minutes
Ingredients:
- 2 ½ lbs pickling cucumbers
- 2 cups white vinegar (5% acidity)
- 2 cups water
- ¼ cup pickling salt
- 4 tsp dill seed
- 4 cloves garlic
- Optional: mustard seeds, red pepper flakes
Instructions:
- Wash cucumbers and cut into spears or rounds.
- Boil vinegar, water, and salt until dissolved.
- Place 1 clove garlic and 1 tsp dill seed in each sterilized jar.
- Pack jars tightly with cucumbers.
- Pour hot brine into jars, leaving ½ inch headspace.
- Remove air bubbles, wipe rims, and seal.
- Process in boiling water bath for 10 minutes.
- Let jars sit for 24 hours; store in a cool, dark place.
🥒 These pickles are crisp, tangy, and perfect after 2-3 weeks of curing.
8. Specialty Canning: Fermentation, Dry Canning, and More
- Fermented canning (like sauerkraut) involves brining, not heat.
- Dry canning (for grains or nuts) is not USDA-approved for home use.
- Steam canning is gaining popularity but needs precise temperature control.
When exploring advanced methods, always consult tested, safe recipes.
9. How to Store Canned Goods Properly
- Cool, dark place (50-70°F)
- Avoid direct sunlight or high humidity
- Label with date and recipe
- Use within 1 year for best flavor and nutrition
10. Empowering Yourself Through Preservation
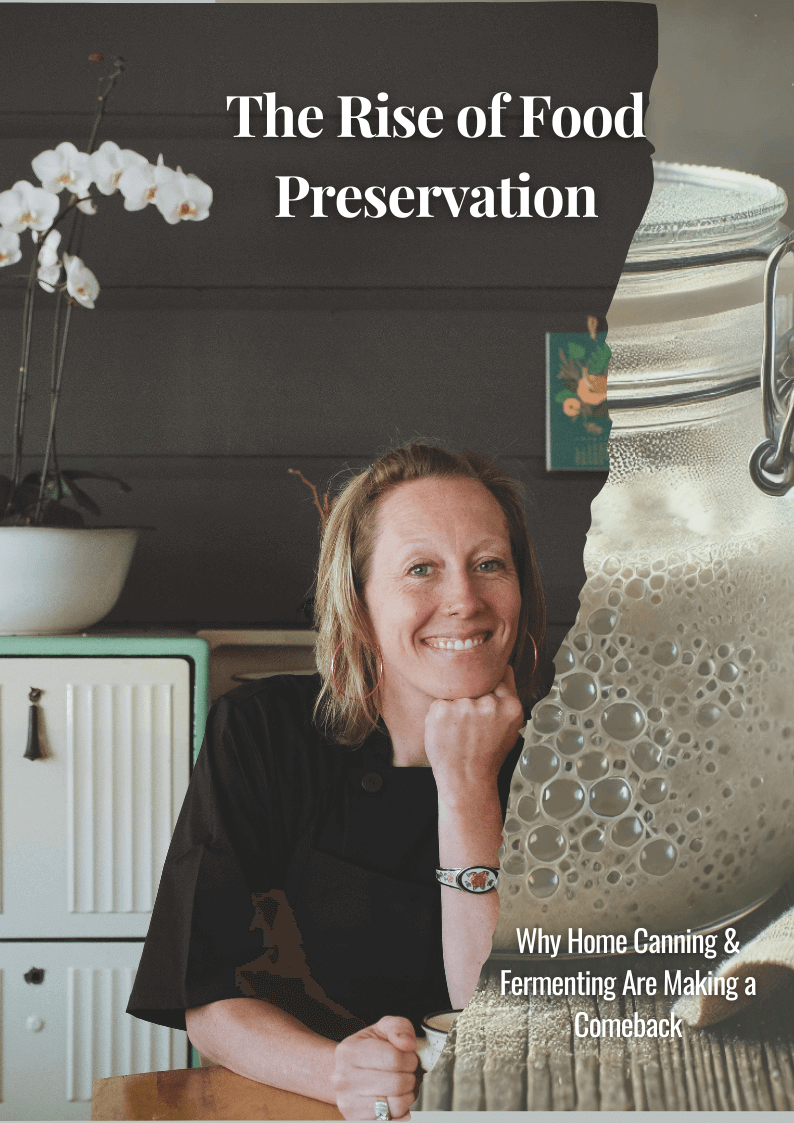
Canning is a heritage skill that gives you control over your food. It’s empowering, eco-friendly, and satisfying. Once you’ve mastered the basics, you’ll find yourself looking forward to harvest season just for the joy of canning.
Ready to Elevate Your Skills?
Don’t miss our new release: The Essential Canning Cookbook
📆 Coming August 5 – filled with 75+ pressure and water bath recipes, charts, troubleshooting guides, and expert tips for every skill level.
📆 Coming August 5 – filled with 75+ pressure and water bath recipes, charts, troubleshooting guides, and expert tips for every skill level.
✅ Pre-order now and be among the first to preserve like a pro!
FAQs
Q1: Is canning cost-effective compared to store-bought products?
A: Yes! Once your gear is purchased, you can save significantly by preserving garden produce or bulk buys.
A: Yes! Once your gear is purchased, you can save significantly by preserving garden produce or bulk buys.
Q2: Can I reuse jars and rings?
A: Yes to jars and rings (if not rusted), but always use new flat lids for safe sealing.
A: Yes to jars and rings (if not rusted), but always use new flat lids for safe sealing.
Q3: Can I reduce the salt or sugar in canning recipes?
A: Only if specified by a tested recipe. Otherwise, changing amounts can compromise safety.
A: Only if specified by a tested recipe. Otherwise, changing amounts can compromise safety.
Q4: How can I tell if a jar has sealed properly?
A: The lid should be concave and not flex when pressed. You’ll often hear a “ping” as it seals.
A: The lid should be concave and not flex when pressed. You’ll often hear a “ping” as it seals.
Q5: Can I double a canning recipe?
A: Not recommended unless the recipe specifically allows. Larger batches can affect heat penetration and safety.
A: Not recommended unless the recipe specifically allows. Larger batches can affect heat penetration and safety.


0 Comments